
git 시작하기 : 지난 포스트에서 VS Code에서 git을 시작하는 법을 정리했습니다. 이번에는 git clone 혹은 git init을 통해서 git 시작하는 법을 정리해보았습니다.
기존에 진행된 프로젝트가 있는지 아니면 새 프로젝트를 시작하는지 여부에 따라서 git을 시작하는 방법이 다릅니다.
VS Code에서 git 시작

VScode에서 Git 시작하기
Git은 버전 관리 시스템(VCS, Version Control System) 중 하나로, 소스 코드 및 파일의 변경 이력을 관리하고 추적하는 도구입니다. 개발 프로젝트에서 여러 개발자들이 함께 작업하거나… Read more
Git 시작하기 (새 프로젝트를 시작하는 경우)
github에 로그인 뒤에 새로운 리포지토리를 생성합니다.
이때 로컬 git에서 작업한 히스토리가 있다면, Add a README file을 체크아웃 하는 것만 유의해주면 됩니다.
Add a README file를 체크하면 원격 git에서 commit이 이루어져서 로컬 git에서 pull 혹은 push시 충돌이 발생할 수 있습니다.
README 파일은 프로젝트에 대한 기본적인 정보와 사용 방법을 제공하는 문서입니다.
향후 추가할 수도 있으니 우선 체크아웃하고 진행합니다.
git 주소를 복사합니다.

터미널에서 로컬 git을 생성하고 원격 git과 연결합니다.
git init
git remote add origin https://github.com/quasar2yh/test_repo.git
git branch -M main
git remote -v
git branch -M main은 git branch의 이름을 master에서 main으로 변경합니다. (master 용어의 어감 문제로 main으로 변경하는 관례가 생겼습니다)
git remote -v로 원격 git이 잘 연결 되었나 확인합니다.
작업한 내용을 push 해줍니다.
git add test_repo.py
git commit -m "feat: start test repo"
git push origin main
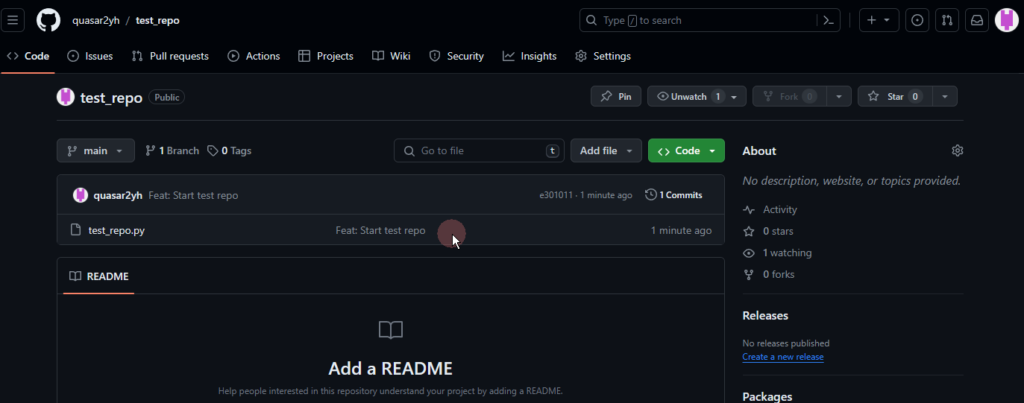
원격 git을 새로고침하면 로컬에서 push한 것이 업데이트 된 것을 확인 할 수 있습니다.
Git 시작하기 (원격 저장소에서 가져오는 경우)
디렉토리를 만들었다면 git 주소 뒤에 현재 디렉토리를 의미하는 . 을 붙여줍니다.
git clone <git주소> .디렉토리가 없다면
git clone <git주소>